Trigger Nodes
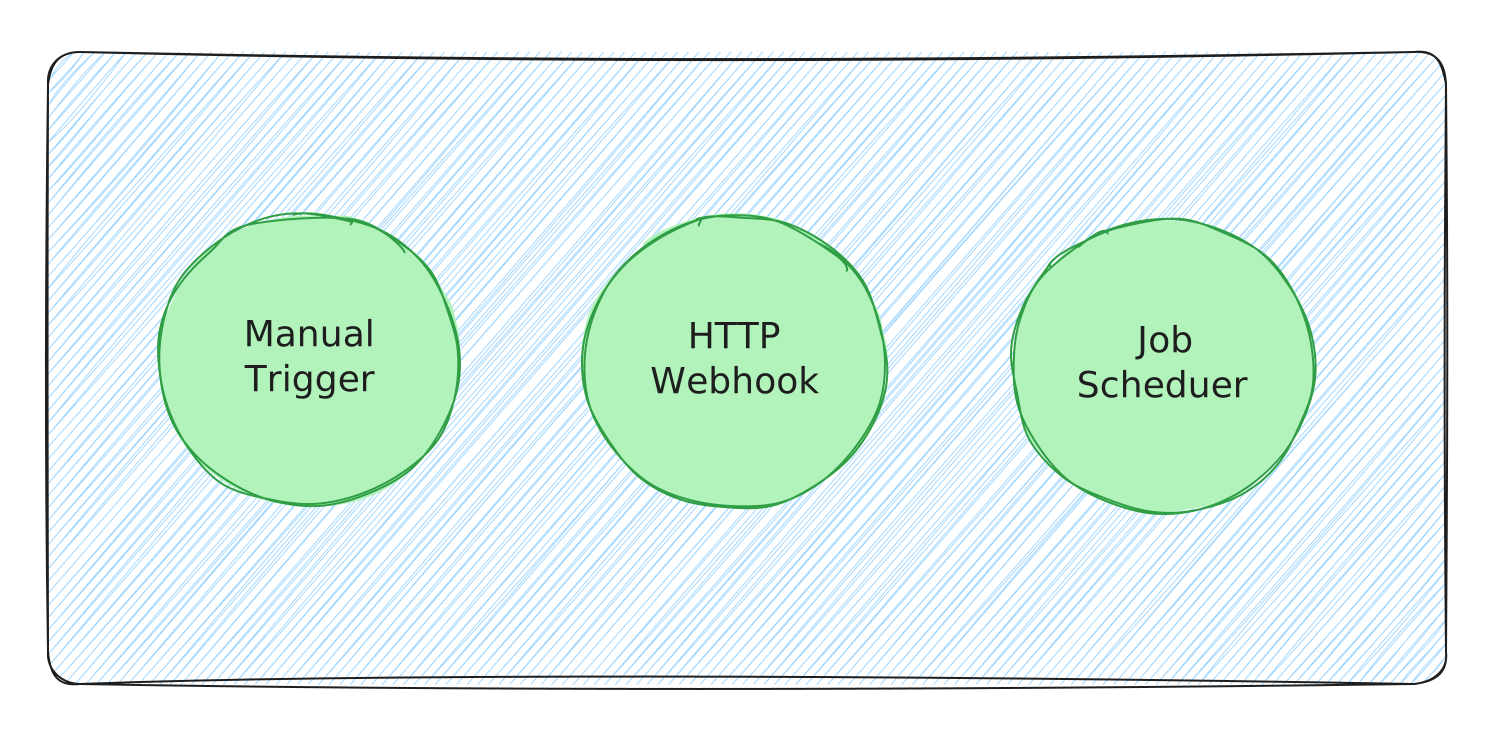
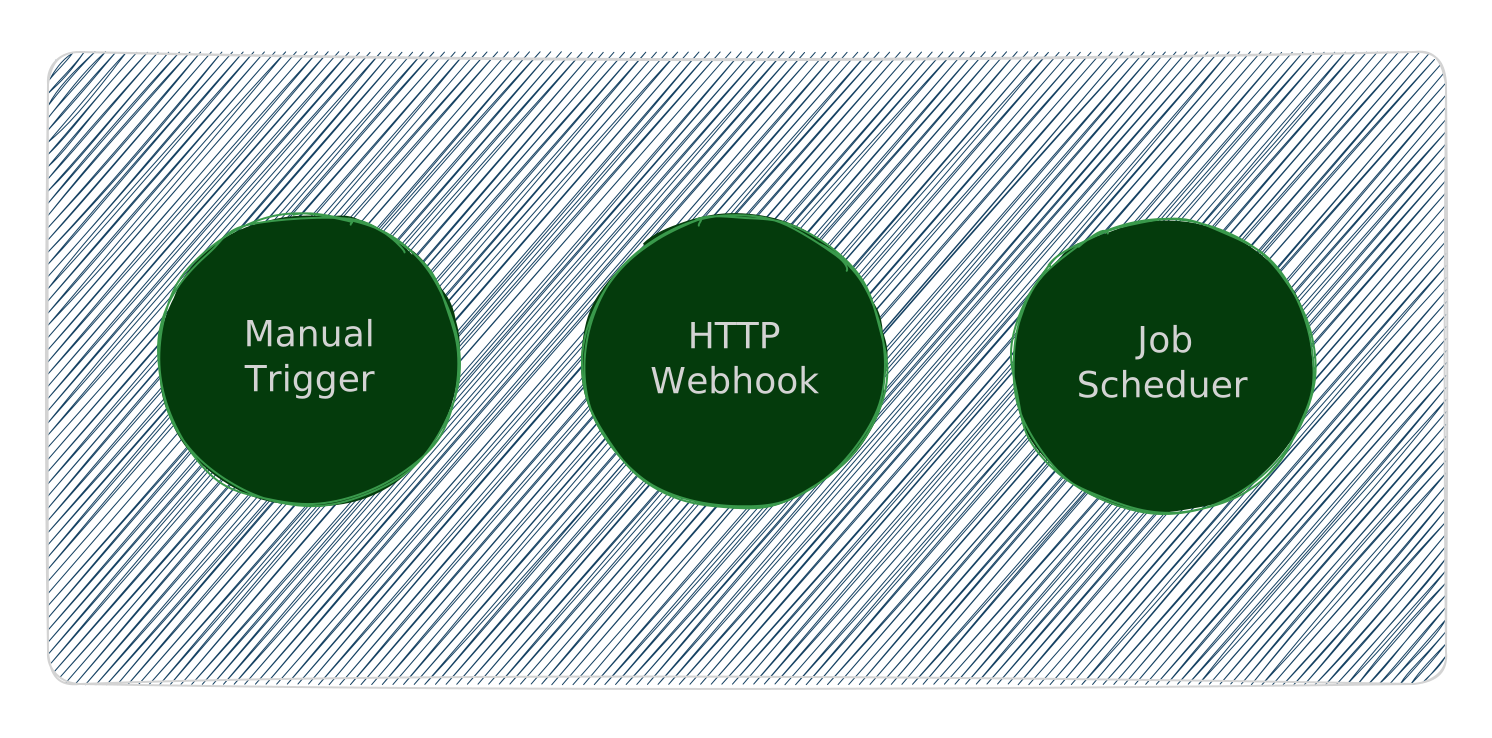
A Trigger node is the entry point of a workflow — the node that decides how a run gets started. Every workflow has exactly one Trigger, it sits at the top of the graph, and it has no incoming edges.
A Trigger doesn't do any work itself. It just listens for the signal that says "start now", and then hands control to whatever Action or Decision node is wired downstream.
When to use which trigger
The choice of trigger comes down to one question: what causes a run to start?
- A person clicking a button → Manual.
- An external system calling a URL → HTTP Webhook.
- A clock or schedule → Job Scheduler.
You pick exactly one per workflow. If you need the same set of steps to be triggered in more than one way, duplicate the workflow and change just the Trigger node — the Action and Decision nodes downstream stay identical.
HTTP Webhook and Job Scheduler triggers are inactive until the workflow has been saved with a name. AutoSage needs a saved workflow to attach a webhook URL or schedule to — no workflow, no trigger. Save first, then configure.
The Manual trigger has no such requirement.
Manual
The simplest trigger. A workflow with a Manual trigger only ever runs when you start it — by clicking Run on the workflow from the dashboard.
Best for:
- Ad-hoc tasks you run on demand — one-off deploys, manual cleanups, troubleshooting.
- Workflows you're still developing and want to test by hand before automating.
- Operations that need a human in the loop every time, by design.
Configuration
A Manual trigger has nothing to configure. Drop it on the canvas, wire it to your first Action, and you're done.
HTTP Webhook
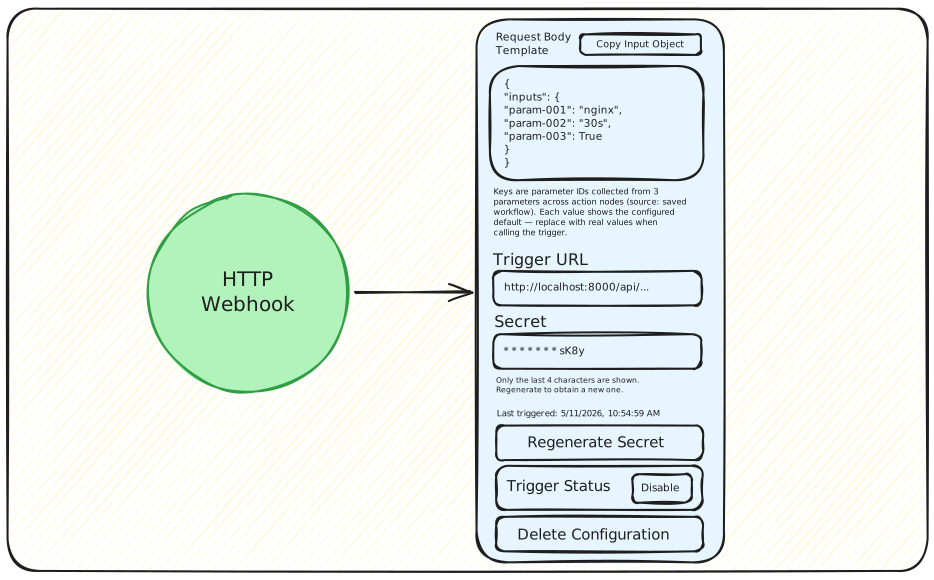
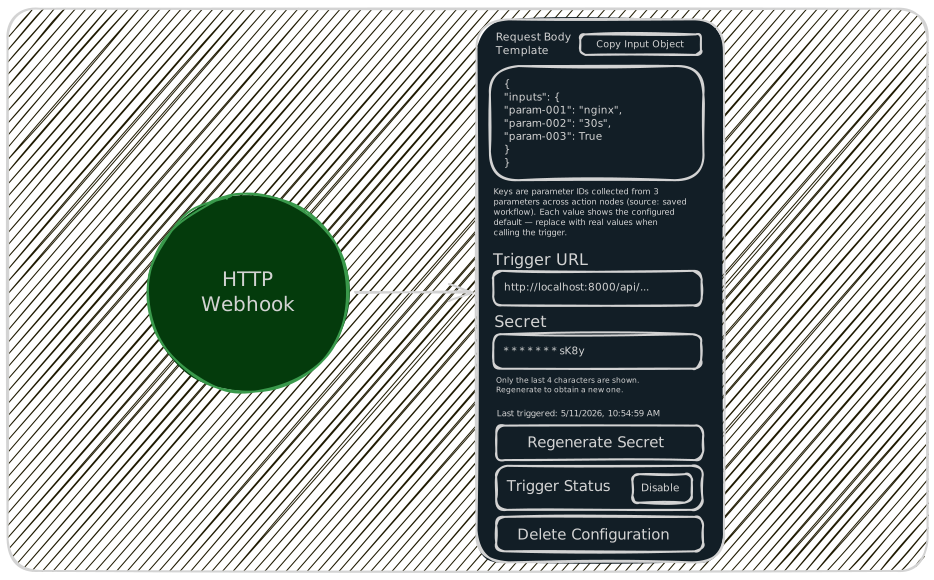
Exposes a unique URL that, when called with an HTTP request, fires the workflow. Anything that can make an HTTP call can trigger the run — CI pipelines, GitHub Actions, monitoring tools, custom scripts, other AutoSage workflows.
Best for:
- Hooking AutoSage into existing automation (CI/CD, alerting, ChatOps).
- Workflows triggered by events outside AutoSage — a deploy completing, a check failing, a form being submitted.
- Passing data into a run — the webhook payload is available to downstream nodes.
Generate the trigger URL
Once the workflow is saved, the HTTP Webhook node's configuration sidebar shows a Generate Trigger URL button. Clicking it produces two things:
- The trigger URL — the unique HTTPS endpoint your external system will call.
- The secret key — the value you'll send back in the
X-Trigger-Secretheader to authenticate the call.
AutoSage displays the secret key a single time, right after you generate it. Copy it and store it somewhere secure (a password manager, your secrets store, etc.) before closing the dialog.
If you lose the secret, you can generate a new one at any time — but every external caller using the old secret will need to be updated, since the previous one is invalidated.
Enable / disable
The configuration sidebar also has an enable/disable toggle. Disabling the trigger keeps the URL and secret intact, but incoming requests are rejected until you turn it back on. Useful for pausing automated callers without tearing down the integration.
Sending a request
Use any HTTP client (curl, Postman, your CI script) to POST to the trigger URL. Two headers are required, with exact casing:
| Header | Value |
|---|---|
X-Trigger-Secret | The secret key you saved when generating the URL. |
Idempotency-Key | A unique string per request. AutoSage uses it to deduplicate retries of the same logical trigger. |
If your workflow needs runtime parameters (values that vary per run — a target environment, a release tag, a user ID), send them in the request body under a top-level inputs object, keyed by parameter ID:
{
  "inputs": {
    "param-1-id": "value-1",
    "param-2-id": "value-2"
  }
}
The configuration sidebar exposes an input object body field that already shows the full inputs object pre-populated with the right parameter IDs for this workflow.
The recommended pattern is to copy the entire input object from the Trigger configuration sidebar and paste it into your request body, then fill in the values. Don't try to reconstruct it by hand from the workflow's node data — parameter IDs are not the same as the human-readable labels you see on the canvas, and getting one wrong is easy to miss until a run fails.
AutoSage doesn't validate input parameters at trigger time. If you send an empty body, a partial body, or wrong parameter IDs, the workflow will still start successfully — the run is queued and the trigger returns its 202 Accepted as usual.
The cost shows up later: any node that depends on a missing parameter will be marked Failed when it tries to use that value during execution. Check the configuration sidebar's input object body before sending, and make sure every parameter your downstream nodes rely on is present in the request.
What you get back
A successful trigger returns 202 Accepted with a JSON body in AutoSage's standard response envelope:
{
  "success": true,
  "message": "Workflow execution queued successfully!",
  "data": {
    "workflow_run_id": "f47ac10b-58cc-4372-a567-0e02b2c3d479",
    "status": "queued",
    "idempotent": false,
    "polling_url": "https://api.autosage.app/runs/f47ac10b-58cc-4372-a567-0e02b2c3d479/status"
  },
  "errors": null
}
Field highlights:
workflow_run_id— the unique ID of this run. Use it to correlate with logs in the AutoSage portal.status—queuedfor a fresh trigger.idempotent—truewhen AutoSage matched theIdempotency-Keyto an existing run and returned that run instead of starting a new one;falsefor a brand-new run.polling_url— the URL to GET for status updates (see below).
The run starts asynchronously. To check its progress, send a GET request to polling_url with the same X-Trigger-Secret header — the response reports whether the run is queued, in progress, succeeded, failed, or cancelled.
Polling URL gives status, not logs
The polling URL is built for lightweight status checks, not log retrieval. A poll response gives you a summary of the run:
- Overall status —
queued,in progress,success,failed, orcancelled. - Run duration.
- Per-node status — which nodes ran, which succeeded, which failed.
- Exit codes for nodes that ran scripts.
What it doesn't give you is the full stdout/stderr stream from each node. For that, sign in to the AutoSage portal and download the logs from the run's detail view.
Full execution logs are stored in a Google Cloud Storage bucket. Streaming them through the public polling URL would mean serving GCS contents to anyone holding the trigger secret, which we'd rather not do — so log access is gated through the authenticated portal frontend instead.
Job Scheduler
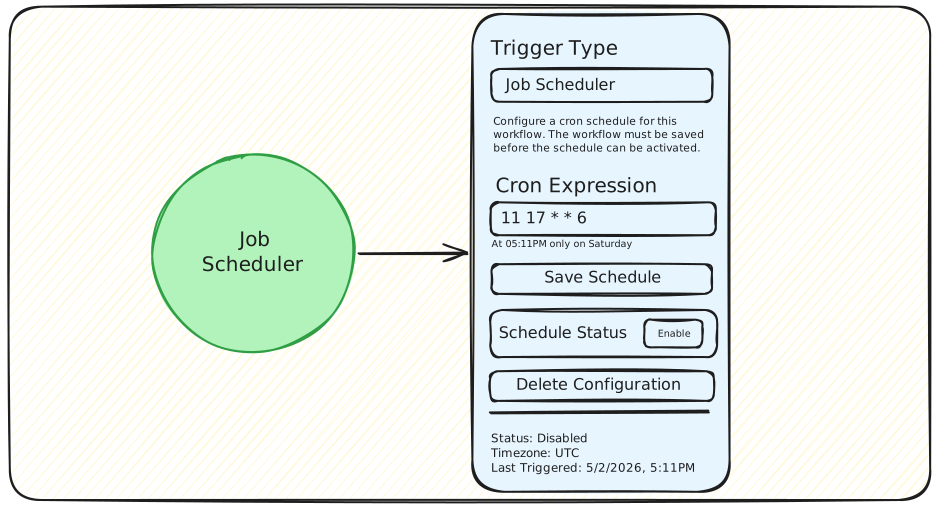
Runs the workflow on a recurring schedule, defined with a standard cron expression. AutoSage fires the run automatically when the schedule says so — no human action, no external call.
Best for:
- Routine maintenance — nightly backups, weekly cleanups, hourly health checks.
- Periodic reporting — daily status emails, weekly metric snapshots.
- Anything that should "just happen" on a calendar.
Setting the schedule
Once the workflow is saved, the Job Scheduler node's configuration sidebar shows two controls:
- A cron expression input — enter the expression that describes when the workflow should run (for example,
0 2 * * *for every day at 2:00 AM). - An enable/disable toggle — turn the schedule on once you're ready. Disabled schedules are kept on the workflow but won't fire.
That's the whole setup. With a valid expression and the toggle on, AutoSage will fire the workflow on the cadence you defined — no further action needed.
All cron expressions are evaluated in UTC. If you want a workflow to run at 2:00 AM in your local timezone, convert that time to UTC before writing the expression. For example, 2:00 AM IST (UTC+5:30) is 30 20 * * * in UTC, not 0 2 * * *.
Runtime parameters and defaults
A scheduled run has no caller to provide runtime parameter values, so AutoSage uses default values for them instead.
When you configure a parameter on any node, you can set a default value alongside it. The resolution at run time is straightforward:
- If a value is provided when the workflow is triggered (e.g., via the HTTP Webhook body), AutoSage uses that.
- Otherwise, AutoSage falls back to the default value from the parameter's configuration.
For scheduled runs there's never a caller-supplied value, so the default is always what gets used. Make sure every parameter your workflow depends on has a sensible default, or the dependent node will fail at run time the same way it would for a webhook trigger sent with a missing field.
History and logs
Scheduled runs show up in the AutoSage console alongside manual and webhook runs. Open the workflow's run history to see each scheduled execution, its status, duration, per-node results, and full logs.