Workflow Editor Guide
The workflow editor is where you actually build a workflow — drop in nodes, wire them together, configure each one, and save. This page is a tour of what every part of the editor does and where to find it.
A typical workflow editor looks like this:
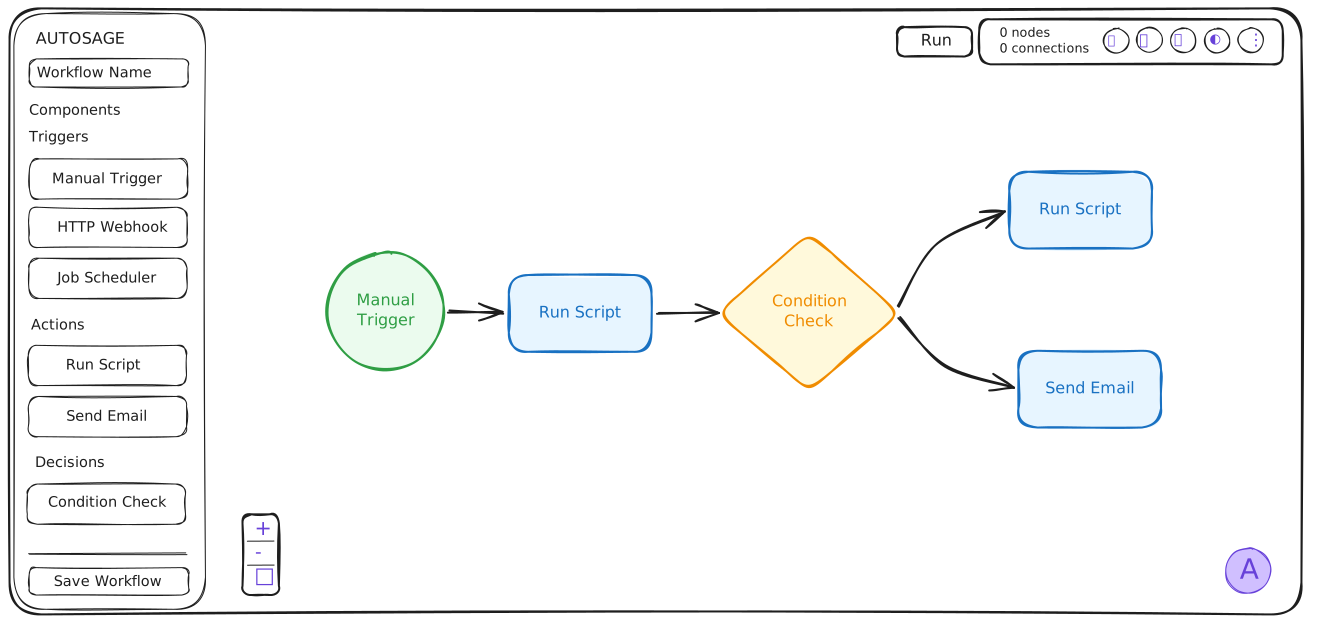
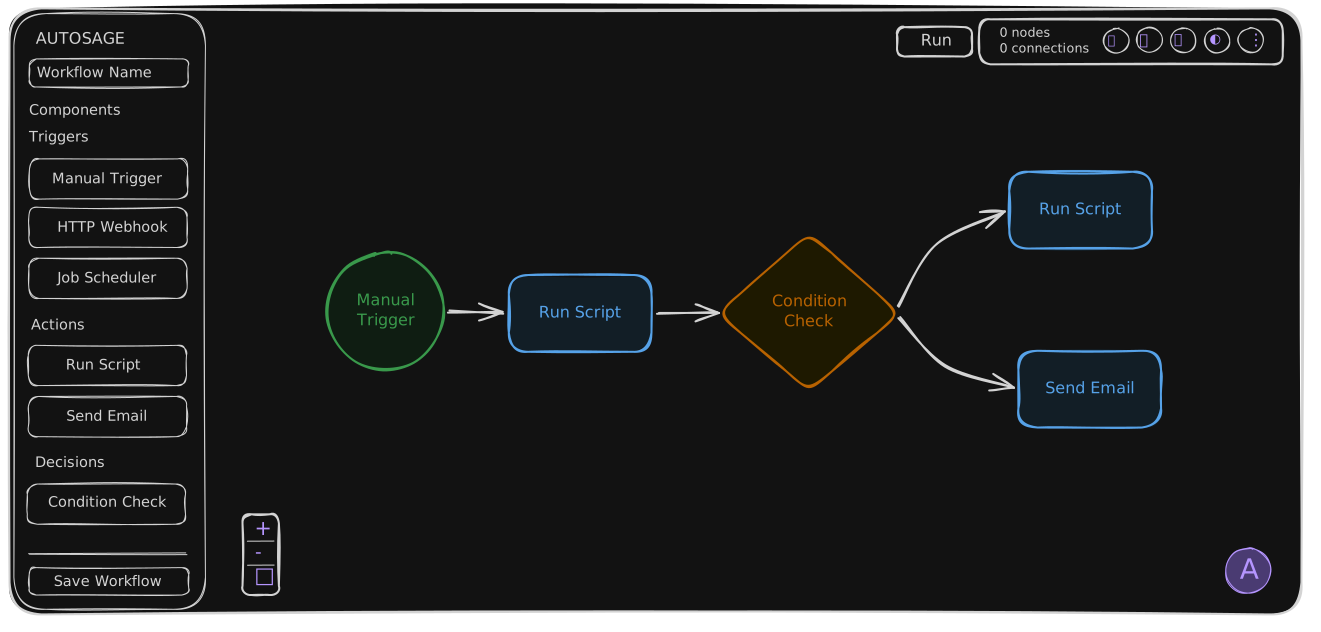
The screen is divided into a few regions:
- Nodes menu — left sidebar. Drag-and-drop source for the three node types.
- Workflow canvas — center. Where your workflow lives.
- Configuration sidebar — right sidebar. Opens when you click a node or edge.
- Toolbar — top-right corner. Import, Vault, profile, theme, and the more menu.
- Autobot button — bottom-right corner. AI-powered workflow generator (coming soon).
Nodes menu
The nodes menu sits on the left side of the editor. It's the source palette for everything you can drop onto the canvas.
It groups nodes into the three categories you'll work with:
- Trigger — the starting point of a workflow. Pick one of Manual, HTTP Webhook, or Job Scheduler. Every workflow needs exactly one.
- Action — the steps that do work: Script (run code on a server) and Email (send a notification).
- Decision — branches the flow on a true/false condition.
To use a node, drag it from the menu and drop it onto the canvas. The node appears at the drop location with default settings; click it to configure.
For a deeper look at each node type, see Nodes & Edges.
Workflow canvas
The canvas is the central area where you assemble your workflow. It's an infinite, pannable surface — drag with the mouse to scroll around, scroll-wheel to zoom.
What you can do on the canvas:
- Add a node — drag from the nodes menu.
- Move a node — click and drag the node body.
- Connect two nodes — drag from a node's output handle to the next node's input handle. The line you draw is an edge.
- Delete a node or edge — select it and press Delete (or Backspace).
- Pan — drag empty canvas.
- Zoom — scroll wheel, or pinch on a trackpad.
Configuration sidebar
The right sidebar is context-sensitive: it stays empty until you click something on the canvas, and then it shows the configuration form for whatever you selected.
- Click a node — the form for that node type opens. The fields depend on the node: a Script Action shows server, language, and script; an HTTP Webhook trigger shows the trigger URL and secret; and so on.
- Click an edge — the form for that edge opens. Useful for edges out of a Decision node, where you set the
true/falselabel. - Click the canvas background — the sidebar closes.
The full field reference for each type lives in the Nodes & Edges section.
Toolbar
The toolbar sits in the top-right corner of the editor. It's a single dock of buttons, in this order:
Import workflow
Opens the Import workflow dialog, which lets you bring an existing workflow into the editor by uploading a JSON file or pasting JSON directly.
For the full details — accepted JSON shape, both export options, and the caveat about what an import actually restores — see Import and Export.
Vault
Opens the Vault — your central store for servers and credentials that your workflows reference. From here you can add a new server, save a credential, or link an existing credential to a server so it auto-fills the next time you pick that server in an Action node.
The Vault opens in the same browser tab; close it to return to the editor.
For everything the Vault can do — creating multiple vaults, saving credentials, registering servers, and the auto-select behavior — see the dedicated Key-Vault page.
Profile
A direct link to your user profile. Use this to update your account details and manage sign-in methods.
Theme toggle
Switches between light and dark appearance. The choice is saved per browser, so AutoSage remembers it the next time you sign in.
More menu
A dropdown that holds less-frequent editor actions:
- New workflow — start a fresh, empty workflow on a new canvas.
- Clear canvas — wipe every node and edge from the current workflow without deleting the workflow itself. Useful when you want to redesign from scratch.
- Delete workflow — permanently remove the current workflow. Asks for confirmation.
- Open Script Editor — jumps to the Script editor, where you can write or edit the scripts that Action nodes run.
Autobot button
In the bottom-right corner there's a floating button for Autobot, the AutoSage AI workflow generator.
Click it to open a pre-filled Autobot thread where you can describe what you want a workflow to do, and Autobot drafts the nodes and edges for you. The draft lands on your Workflows page for you to review in this builder before running it.
For prompt tips and how generated drafts work, see Workflow actions.
What's next
- Nodes & Edges — Overview — the building blocks in detail.
- Trigger Nodes, Action Nodes, Decision Nodes — per-type configuration references.