Action Nodes
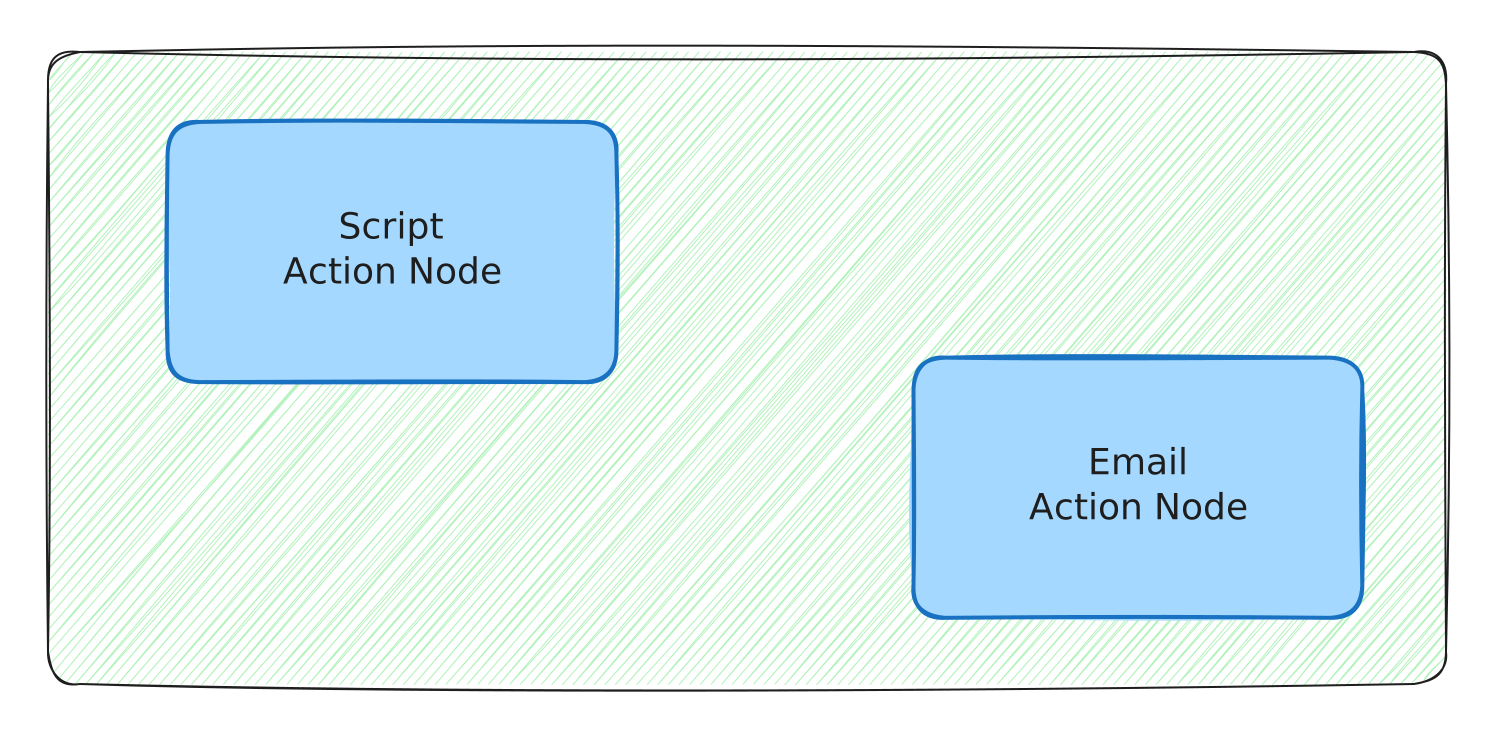
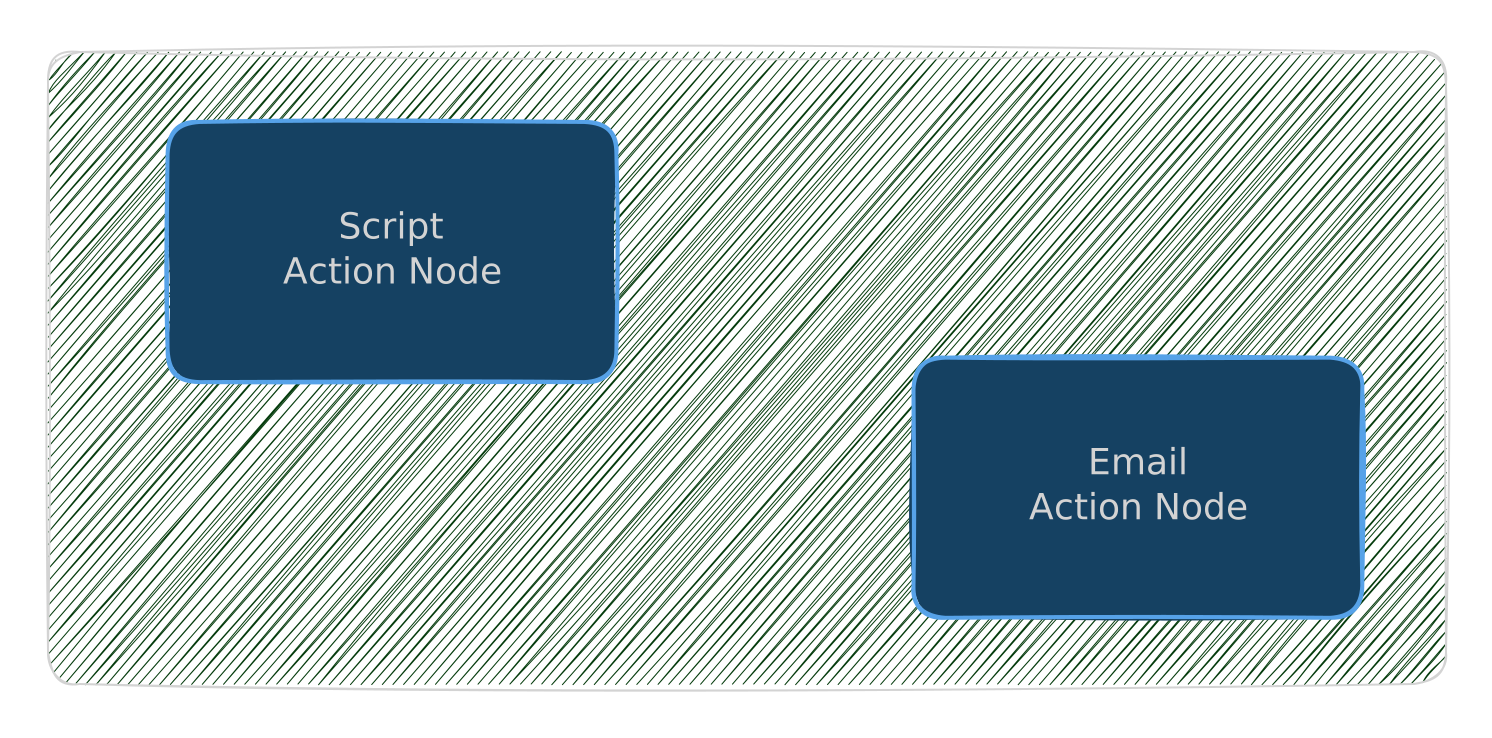
An Action node is a step in a workflow that does the actual work — runs a script on a server, sends an email, performs a side effect against something outside the workflow. Where Trigger nodes decide when a workflow runs and Decision nodes decide which path it takes, Action nodes are where things actually happen.
A workflow can have as many Action nodes as you need, arranged in sequence, in parallel, or both. Each Action node performs one concrete task against exactly one target — that "one node, one server" design is covered in What is a Workflow?.
When to use which action
The choice between the two Action types comes down to what you want to happen:
- Run code on a server you own → Script.
- Send a notification to a person or channel → Email.
Most workflows mix the two: a few Script nodes that do the real work, plus one or two Email nodes wired up to report on the result.
Script Node
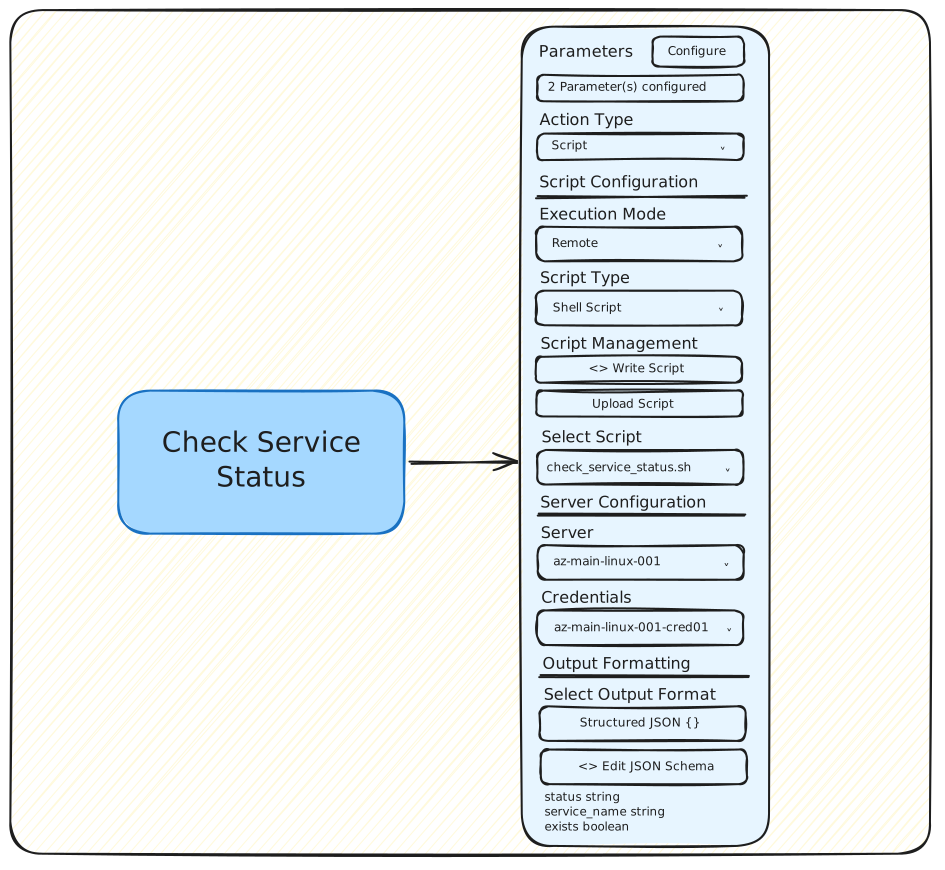
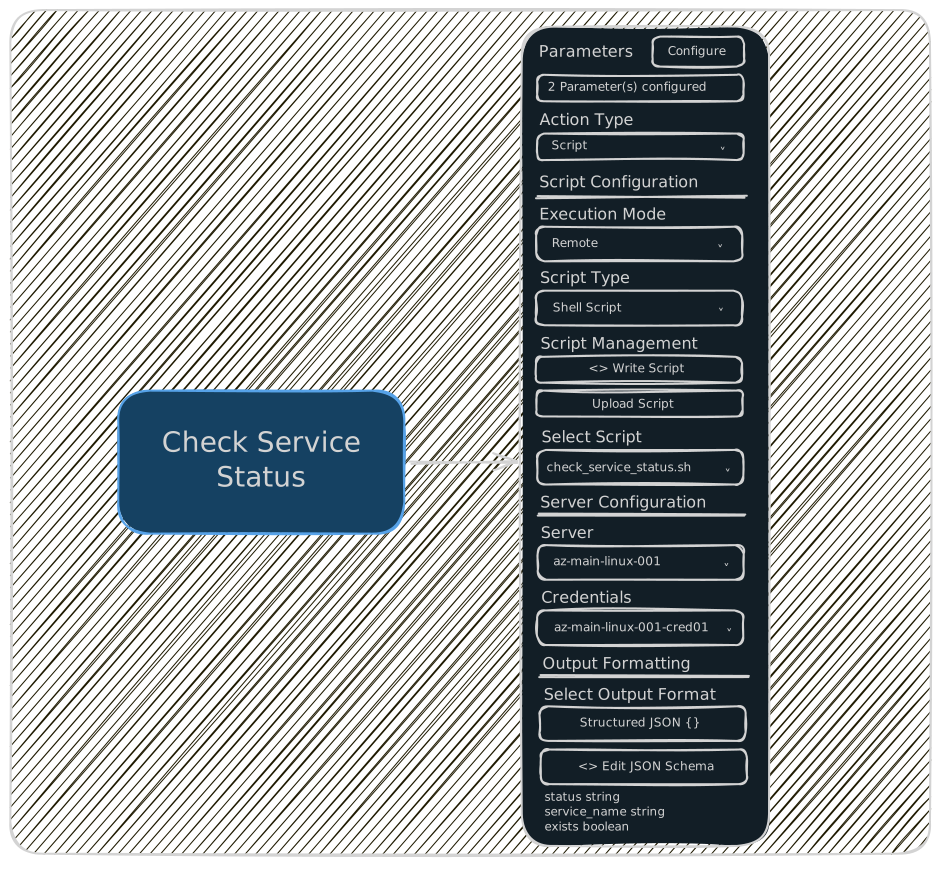
Runs a script on one of your servers and streams the output back. The Script action is the workhorse of AutoSage — most of what a workflow actually does to your infrastructure happens through Script nodes.
A Script node has six configuration sections, top to bottom in the sidebar.
1. Execution mode
Where the script runs.
- Remote — the script runs on the target server you select below. This is what you want 99% of the time and is the only option available to standard users.
- Local — the script runs on the AutoSage backend itself, not on one of your servers. Reserved for admins and used for platform-level maintenance (updating AutoSage internals, running migrations against AutoSage's own state). Standard users won't see this option in the picker.
If you're not an admin, treat this field as "always Remote" and move on.
2. Script type
The language the script is written in. Picking a script type also tells AutoSage what kind of target server the script expects:
- PowerShell — for Windows targets. The target server must be a Windows VM.
- Shell — for UNIX-like targets (Linux, macOS). The target server must be a UNIX VM.
- Python — admin-only. Used by AutoSage admins to update or maintain the platform's own servers. Standard users won't see this option.
Choosing the wrong script type for the target's OS will cause the run to fail at execution time, so make sure the language and the server you pick in section 4 match.
3. Script source
Three ways to attach a script to the node:
- Write a script — opens the built-in Script editor so you can author the script from scratch, save it, and have AutoSage attach it to this node automatically.
- Upload a script — pick a script file from your computer. AutoSage uploads it and selects it on the node in one step.
- Select an existing script — choose from the scripts already saved in your account.
The list of available files in Upload and Select existing is filtered by the script type you picked in section 2 — pick PowerShell and you'll only see .ps1 files; pick Shell and you'll only see shell scripts. This prevents accidentally attaching a Python script to a PowerShell node.
4. Server configuration
Where the script will run (when Execution mode is Remote).
- Server — pick a server from your Vault. Manual typing of host/IP is not allowed — the server must already be saved.
- Credential — pick a credential from the Vault. Also not type-able for the same reason.
You must save your server and login credential to the Vault before configuring a Script node. AutoSage deliberately doesn't accept inline server/credential entry here — every script needs to run against a known, audited target.
If the server has a credential linked to it in the Vault, selecting the server auto-populates the credential field. The reverse isn't true: picking a credential first doesn't auto-pick a server, because the same credential can be valid against several servers and AutoSage can't know which one you mean.
5. Output formatting
How AutoSage interprets what the script writes to stdout, and what downstream nodes get to consume:
- Plain Text — the script's stdout is captured as a single string and passed downstream as-is. Use this when you just want logs, or when downstream nodes don't need to parse the output.
- JSON Output — the script is expected to print a JSON object that matches a schema you define on the node. Each field has a name and a type: String, Number, Boolean, Array, Object, or Password. Once defined, those fields become first-class values that downstream nodes can reference.
JSON Output is what unlocks meaningful branching and parameter passing later in the workflow — a Decision node can check script.exitCode == 0, an Email node can drop script.summary into its body, and so on.
AutoSage does not generate the JSON for you. If you declare a JSON schema on the node, your script's code must print a JSON object whose keys and types match that schema exactly. A typo, a missing field, or a type mismatch (e.g., returning a string where a Number is declared) will be caught at parse time and surface as a failed node.
It's your responsibility to keep the script's output in sync with the schema you defined on the node.
Example: emitting JSON from a script
Imagine a Script node configured with this schema:
| Field | Type |
|---|---|
hostname | String |
service_name | String |
action | String |
success | Boolean |
status | String |
timestamp | String |
A PowerShell script that honors that schema would build a hashtable and pipe it through ConvertTo-Json so the output is a single, well-formed JSON object:
$result = @{
    hostname     = $env:COMPUTERNAME
    service_name = $serviceName
    action       = "start_service"
    success      = $true
    status       = $updatedService.Status.ToString().ToLower()
    timestamp    = (Get-Date).ToString("yyyy-MM-ddTHH:mm:ss")
}

$result | ConvertTo-Json -Compress
The equivalent in Shell — emitting the same shape via a heredoc — looks like this:
cat <<EOF
{
  "hostname": "$HOSTNAME",
  "service_name": "$SERVICE_NAME",
  "action": "start_service",
  "success": $SUCCESS,
  "status": "$STATUS",
  "error_message": "$ESCAPED_ERROR",
  "timestamp": "$TIMESTAMP"
}
EOF
Two things to watch for in the Shell version: $SUCCESS is unquoted because it's a Boolean (you want the literal true or false, not the string "true"), and any string values you interpolate need to be JSON-escaped beforehand — the $ESCAPED_ERROR variable above stands in for an error message that's already had ", \, and newlines escaped. PowerShell's ConvertTo-Json handles all of that for you, which is why the PowerShell version is shorter and less bug-prone.
6. Parameters
Runtime parameters are values the script reads from outside the script body — supplied either when the workflow is triggered, from the output of an upstream node, or from a default. Defining parameters on a Script node is what makes a workflow reusable:
- The same workflow can be run multiple times against different values — same script, different
release_tageach run. - The output of one node can be threaded into another as an input or a Decision condition — a Script node's
disk_usagebecomes the input to the next Decision.
This is the mechanism that ties a workflow's nodes together into something more than a sequence of isolated steps.
For the full reference — parameter types, how to reference upstream outputs, default value resolution, and the {{param_name}} syntax for reading parameters inside a script — see Parameters.
Email Node
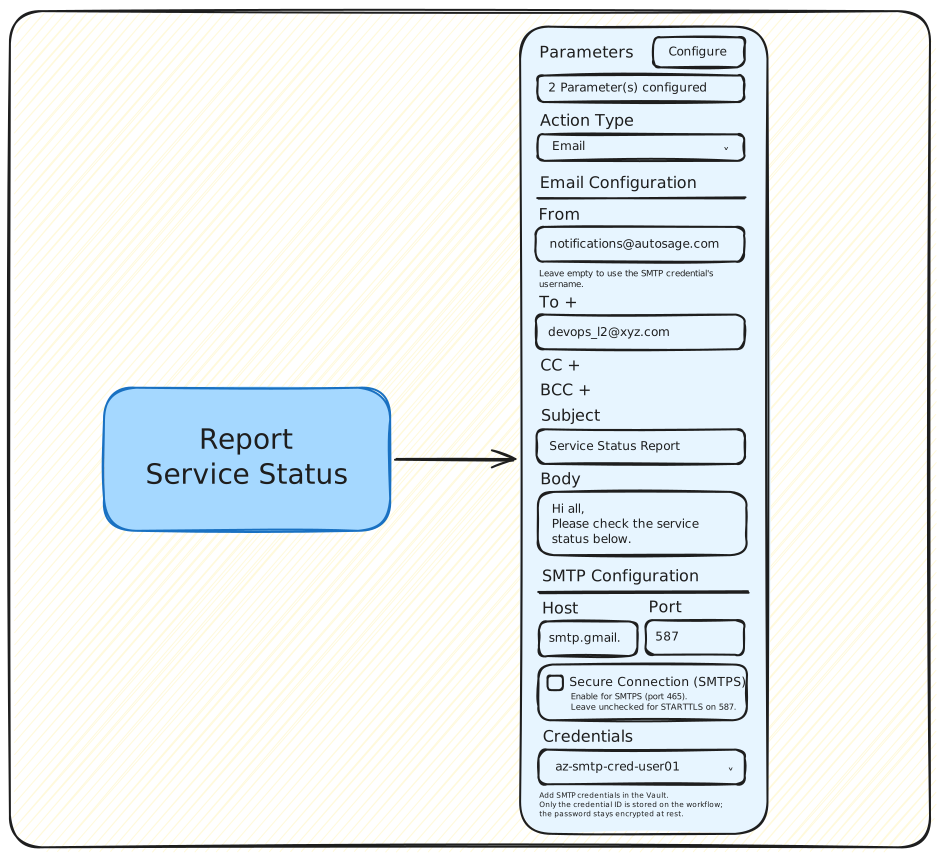
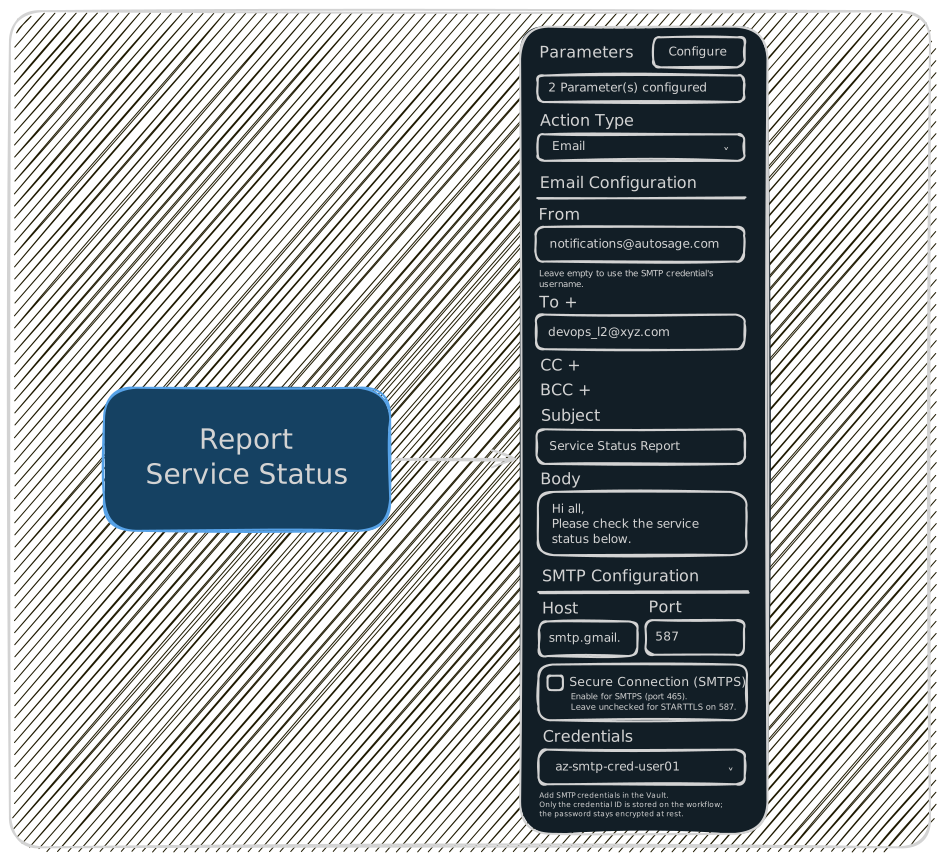
Sends an email — most often used to report on a run: "deploy finished," "health check failed," "weekly cleanup completed." Wire it after a Script node to send out the result, or after a Decision node to alert only on the failure branch.
AutoSage doesn't ship its own mail server. Every Email node sends through your own SMTP provider using credentials you've saved to the Vault. That means delivery, deliverability, and bounce handling all live with your provider (Gmail, Outlook 365, SES, Mailgun, your company relay) — AutoSage just hands the message off.
An Email node has four configuration sections.
1. Recipients
Standard email address fields, each accepting multiple addresses:
- From — the sender address. AutoSage doesn't validate this field — your SMTP server may reject the message if
Fromdoesn't match an authorized sender on its side. - To — primary recipients.
- Cc — carbon copy.
- Bcc — blind carbon copy.
2. Subject and body
- Subject — a single-line text field. The subject of the outgoing email.
- Body — the email body. Compose the message you want recipients to read.
The body can be extended with values from upstream nodes — see section 4 for how that wiring works. The subject is always exactly what you type here; parameters are never injected into it.
3. SMTP configuration
This is where you point the node at your SMTP server.
- Host — the SMTP hostname (e.g.,
smtp.gmail.com,smtp-relay.your-company.com). - Port — the port AutoSage connects on. Two common cases:
- Secure connection checkbox unchecked → port 587 (STARTTLS, the default for most modern SMTP servers).
- Secure connection checkbox checked → port 465 (SMTPS, implicit TLS from the start of the connection).
- Credentials — pick the SMTP credential from your Vault. Manual entry isn't supported here either; save the credential to the Vault first, then select it.
If you're unsure, leave Secure connection unchecked (port 587). Most modern providers prefer STARTTLS on 587. Only switch to 465 if your provider's docs specifically say to use SMTPS.
4. Parameters
Email nodes use parameters to pull values from upstream nodes into the subject and body of the email. There are two patterns, depending on how much of the upstream output you want.
Reference a single output key
When you only want one specific field from an upstream node — say, a Script node's hostname or status — pick that node in the parameters configuration and then select the specific output key you want to reference. That single value gets appended to the email body when the message is sent.
Like the raw-append option, this is body-only and automatic — the subject is never modified, and you don't write any template syntax inside the body. Once the key is selected in the parameters configuration, AutoSage appends its value to whatever you wrote in the body.
Use this when the upstream node has JSON Output configured and you only need a specific field surfaced rather than the whole response.
Append the whole upstream response
When you'd rather include everything the upstream node produced — for a "here's the full result" report — pick the upstream node and then select the input_as_text (Raw) option instead of a specific key.
This works for both output formats:
- For a node with Plain Text output, the entire captured string is appended.
- For a node with JSON Output, the full JSON object is appended as text.
The raw content is appended to the body only — the subject line is never modified. And there's no template syntax to write: once input_as_text (Raw) is selected in the parameters configuration, AutoSage's server appends the upstream node's output to whatever you wrote in the body automatically when the email is sent. You don't (and can't) reference it with a placeholder inside the body text.
A typical pattern is to write a short human-readable lead in the body ("Health check failed on web-02. Full output below:") and let the raw content fill in underneath.
For the full reference on parameter wiring — including how the same machinery applies to Script nodes — see Parameters.