Decision Nodes

A Decision node is a fork in the road. It evaluates one or more rules against the data flowing through your workflow, produces a single true/false result, and routes the run down one of two outgoing edges based on that result.
Where Action nodes do work and Trigger nodes start work, Decision nodes change which work happens next. They're how you express "only continue if…", "do this instead when…", and "branch the flow when something goes wrong" — without writing custom error-handling code in every script.
When to use a Decision node
Reach for a Decision node when the next step depends on what just happened:
- Guard a step. Continue with the deployment only if the build succeeded — otherwise, skip ahead to a rollback or notification.
- Branch on output. Run the cleanup branch when disk usage is over 90%; do nothing otherwise.
- Route by category. Send a high-priority alert when the response code is in the 5xx range, a low-priority notice when it's 4xx.
- Stop early on failure. Short-circuit the rest of the workflow if a health check came back unhealthy, and send an email instead.
If the path forward is always the same regardless of upstream output, you don't need a Decision — just wire the nodes in sequence. Decisions earn their place when the answer to "what runs next?" depends on a value that's only known at run time.
Configuring a Decision node
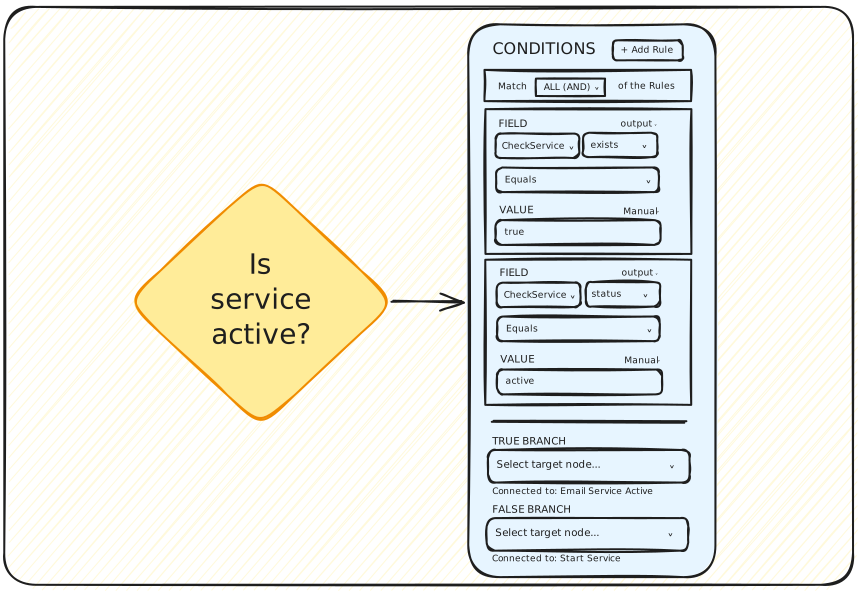
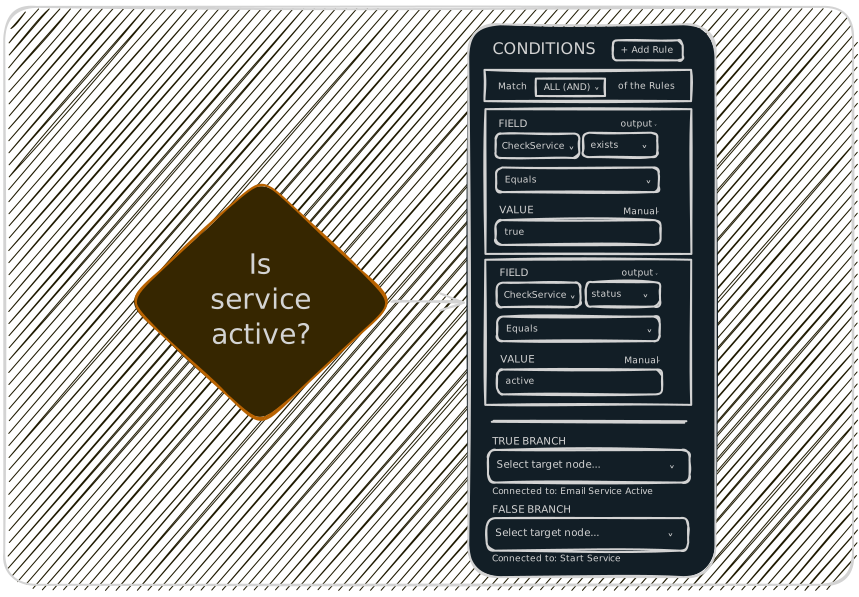
A Decision node's configuration is a list of rules plus a combinator that joins them. AutoSage evaluates the combined expression at run time, gets back true or false, and follows the matching edge.
Rules
A rule is a single comparison. Each rule has three parts:
- A Field — the left-hand side of the comparison.
- An Operator — how to compare.
- A Value — the right-hand side.
You can add as many rules as you need on one Decision node and combine them with AND or OR (see Combining rules below).
Field
The Field is what you're checking. It can be one of two types:
- Manual — you type a literal value directly into a text input. Useful as a constant on one side of the comparison.
- Output — reference a value produced by an upstream node. Pick the node, then pick one of its output keys:
- For a node with JSON Output configured, you'll see each declared field (e.g.,
service_status,disk_usage) in the picker. - For a node with Plain Text output, select the Raw option to refer to the whole captured string.
- For a node with JSON Output configured, you'll see each declared field (e.g.,
Operator
Pick the operator that matches the comparison you want:
| Operator | Meaning |
|---|---|
| Equals | Field is equal to value. |
| Not equals | Field is not equal to value. |
| Greater than | Field is strictly greater than value (numeric). |
| Less than | Field is strictly less than value (numeric). |
| Greater than or equal | Field is greater than or equal to value (numeric). |
| Less than or equal | Field is less than or equal to value (numeric). |
| Contains | Field (a string) contains value as a substring. |
Value
The Value works the same way as the Field — it can be Manual (a literal you type in) or Output (a reference to an upstream node's output).
Because both sides can be Output references, you can write rules that compare two values from the same node or from two different nodes — e.g., "script_a.exit_code equals script_b.exit_code", or "current.disk_usage greater than previous.disk_usage".
Example rules
A few of the shapes you can build with one rule each:
service_statusequals"active"— Field is an Output reference; Value is Manual.disk_usagegreater than90— Field is an Output reference; Value is Manual.script_a.exit_codeequalsscript_b.exit_code— both sides are Output references.
Combining rules
When you add more than one rule, AutoSage joins them with a single combinator for the whole node:
- AND — every rule must be true for the Decision to evaluate to
true. - OR — at least one rule must be true.
That combinator applies to the entire list of rules on the node. If you need a mix — (A AND B) OR C — chain multiple Decision nodes together instead.
Outgoing edges
Every Decision node has exactly two outgoing edges:
- A True Edge — followed when the combined rules evaluate to
true. Drawn in green on the canvas. - A False Edge — followed when they evaluate to
false. Drawn in red.
Wire each edge to whatever node should run next in that branch. At run time, AutoSage follows exactly one of the two edges and prunes the other from this run — the skipped branch's nodes are never executed.
For a refresher on edge types, see Nodes & Edges — Edges.